
Hyper-V Server is a free version of Windows hypervisor that can be used to run virtual machines. In this guide, we’ll look at how to install and configure Microsoft Hyper-V Server 2019 (this guide also applies to Hyper-V Server 2019).
About Hyper-V
Hyper-V is available as a server role in Windows Server and as a stand-alone product (Hyper-V Server). Moreover, Hyper-V Server is free to install. However, before you begin the process of installing Hyper-V, make sure that your system meets all of the following requirements:
- 64-bit processor with Second Level Address Translation (SLAT)
- VM Monitor Mode Extensions
- Minimum 4 GB of RAM
- Hardware-assisted virtualization (Intel VT or AMD-V)
- Hardware-enforced Data Execution Prevention, with the NX bit for AMD systems or the XD bit for Intel systems
Below we may get step-by-step screenshots,

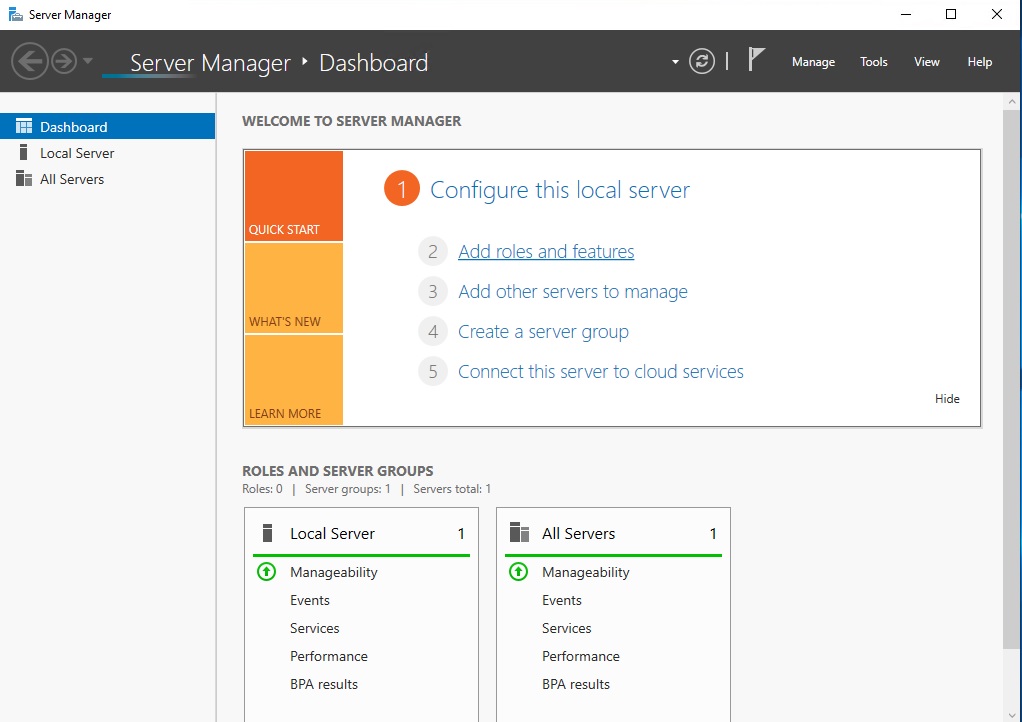
Step 1 – Click on “Start” button.

Add Roles and Features

Add roles features wizard
button and gladly hit “Next“.

Select installation type
“Select installation type“, choose Role-based or feature-based installation radio button and gladly hit “Next“.

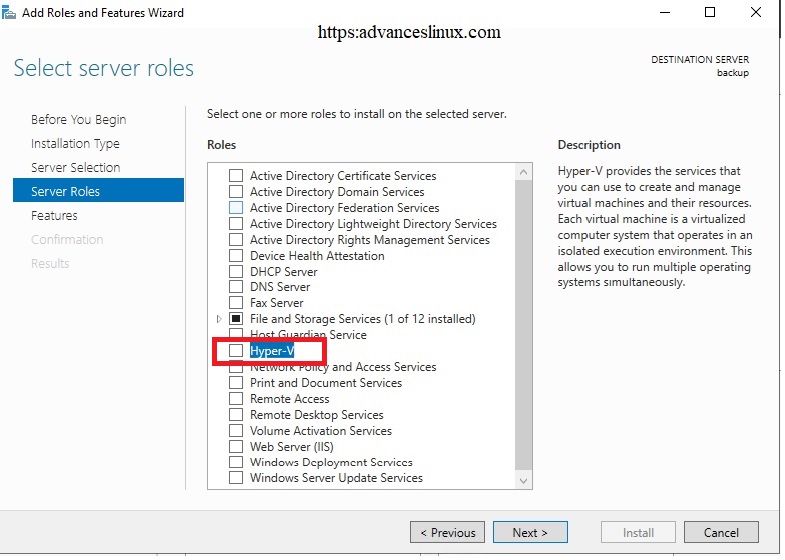
Select server roles
The window that follows after step 4 gives you a list of many roles you can add to your server. Since we are in need of Hyper-V, go ahead and choose “Hyper-V” box. Click “Next” after you are done.
Select .Net framework3.5featurers
click next

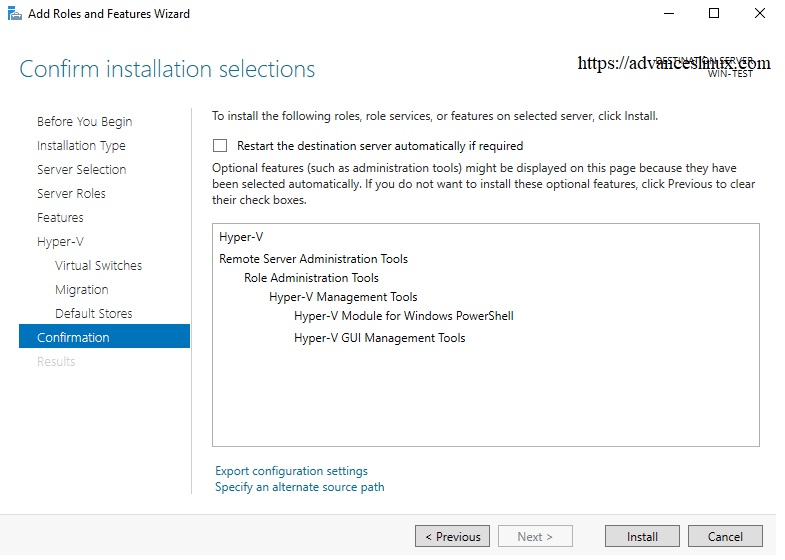
Confirm your installation selections
Confirm if everything you would wish to be installed appears on the list that appears on this window. If all is okay, click “Install“.

Reboot after done installing
Once your installation is complete, click on “Close” and then reboot/restart your server. And we are done!
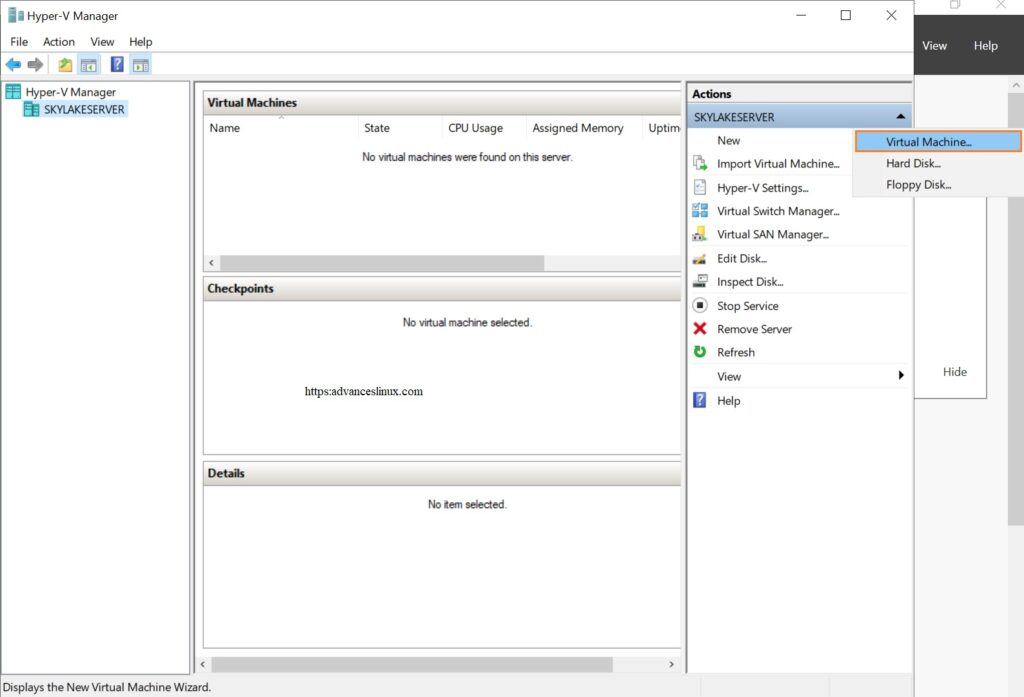
Click on Hyper-V Manager
Click on New
Click on Virtual Machine

Click on Virtual Machine
Click on next

Type Virtual Machine name and click on “Next“

Choose “Generation 2

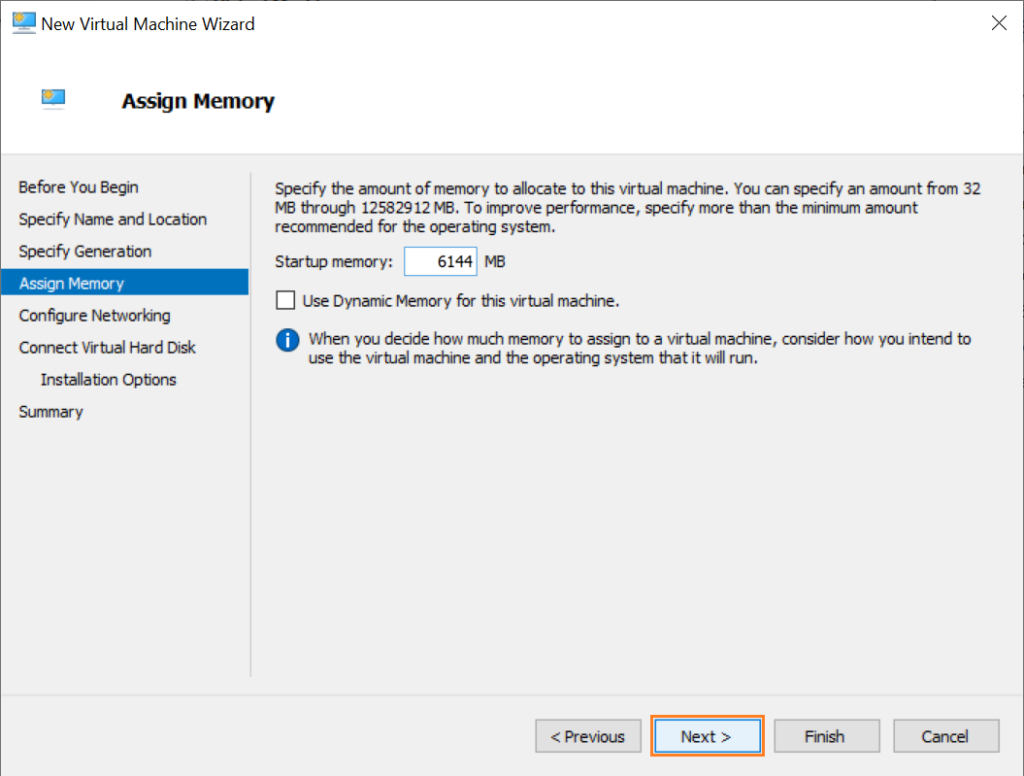
Specify the amount of memory to allocate to the virtual machine and click on “Next“.
Select appropriate “Virtual Switch” from the drop down list.

Click on “Next

Browse and select bootable image file and click on “Next

Click on “Finish


New Virtual Machine (VM) will appear in Hyper-V, click on “Connect

Virtual Machine will start
